To further the experimentation of editing the image I had taken for my ancillary texts, I have decided to smooth out the face of my actress and darken her cheeks slightly to make her skin look smoother. I have a program on my mac called 'Aperture' which is perfect for this kind of editing. I will show a step-by-step of what I had done to the image from beginning to end to show the difference between the two. This kind of editing is helpful as it makes the artist look more appealing to the audience, so becomes more eye-catching and people are more likely to take notice of it.
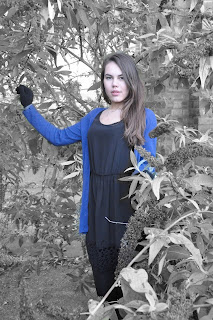 |
| Step 1: This shows the original image before any editing. |
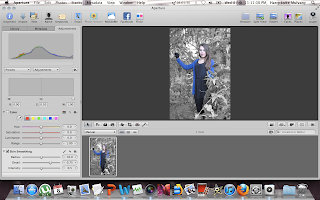 |
| Step 2: I have placed the image into Aperture ready to begin editing. |
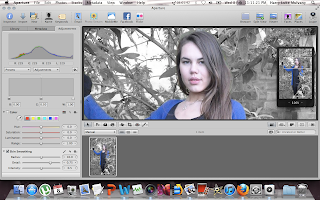 |
| Step 3: I have zoomed in on Simona's face to be precise on what a want to smooth out. |
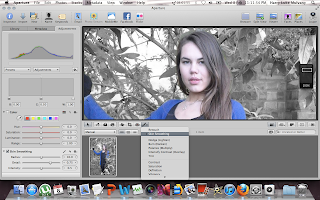 |
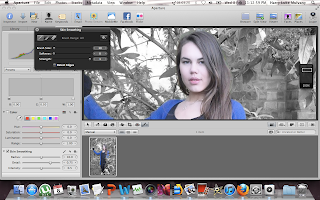
| Step 4: I have chosen the 'Skin Smoothing' tool from the list of tools that are available. |
 |
| Step 5: The box in the upper-left corner shows the options that are given when smoothing somebodies skin. I am having the brush size at 11 so that I can cover all of Simona's face and neck without going over, and the softness it as 0 so her skin is smoothed at full effect with the strength being at full. |
 |
| Step 6: This shows Simona's face after everything has been smoothed out. It is noticable from comparison that Simona's face and neck in this image has much more of an even colour, and aspects of darkness of the face looks less severe. |
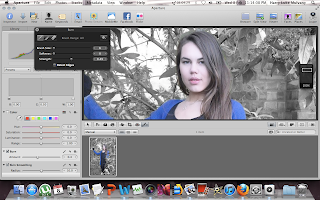 |
| Step 7: I have now chosen the 'Burn' tool to darken the side of her cheeks which will effectivly make her cheek bones stand out more. The brush size is at 6 to make sure that the small area of her cheeks is covered in a precise way. The softness is at 0 to give the full effect but the strength of the tool is at 0.49 so that it doesn't look too dark. |
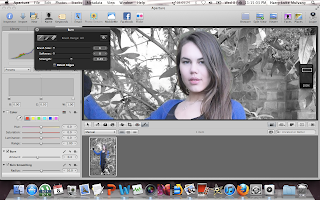 |
| Step 8: This shows Simona's face after her cheeks had been darkened. It it noticable from the previous image that her cheeks look significantly dark at the bottom which had made her cheek bones significantly more noticable. |
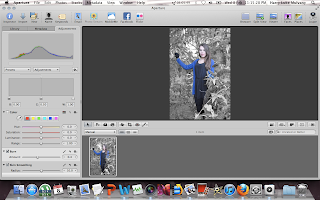 |
| Step 9: This shows the image after all of the editing before exporting it. |
 |
| Step 10: This shows the final image after her face has been smoothed out and her cheeks darkened. |
By Harry Luke Mulvany


No comments:
Post a Comment